Four Poses to Improve Your Handstand
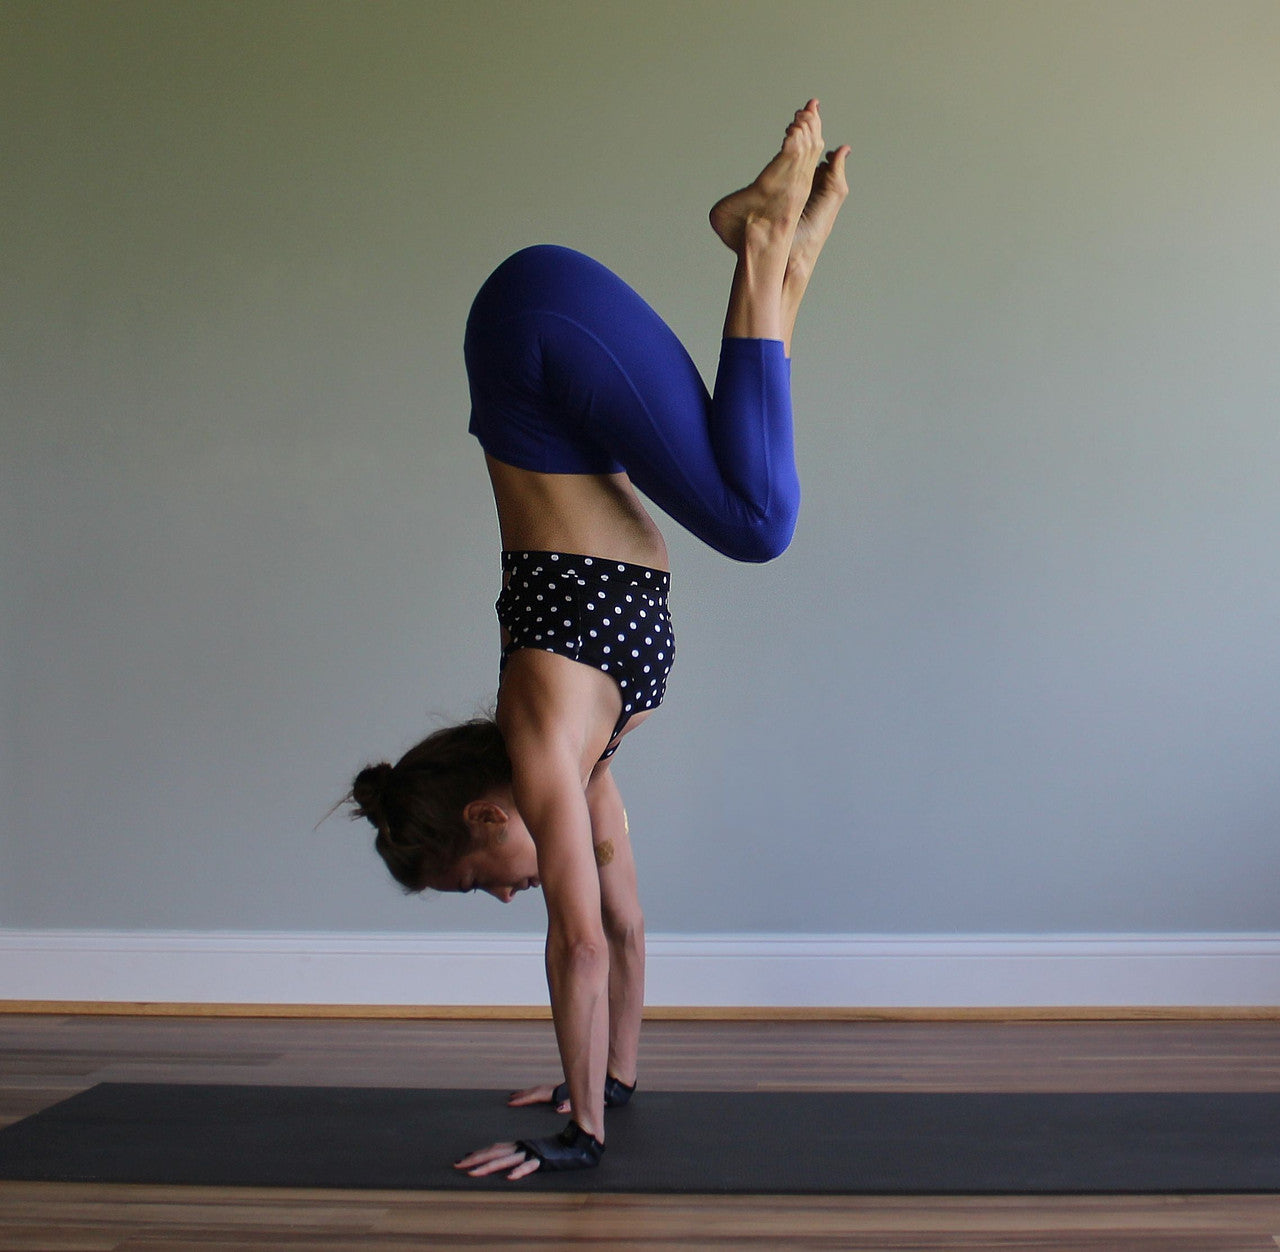
I’ve been working on holding a handstand seriously for about three years now. Although I had practiced yoga for a few years before, handstand was not part of my routine. I thought it was too advanced and not suited to my flexible body type.
I decided to work on handstand—not because it’s essential, but because I knew it would greatly improve my strength and control while pushing me outside my comfort zone. My first attempts were against a wall in my Georgetown apartment, where I struggled to catch any hang time. It was crucial to start where I was and get used to being upside down.
When I finally dared to move away from the wall, I fell often but kept trying with different exercises and challenging poses. Slowly, I began to hold myself upside down with more comfort. My handstand isn’t perfect, but I can feel my body learning and improving. I still fall, but I’ve never injured myself. Mastering handstand involves not just physical training but also mental resilience. The mind can amplify fears about falling. I remember a Charlie Chaplin video where he walks confidently on a narrow board until he sees where he is and loses his balance. Handstands can be risky, but so can many other exercises. The reality is rarely as dire as our minds make it seem, and it’s okay to use a wall for support if fear of falling is a concern.
Currently, I’m working on my press handstand for fun and to further challenge myself. Below are some movements that have been especially helpful in my handstand journey:
- Planks – To master handstand, spend more time on your hands. Planks strengthen your wrists, core, and shoulders.
- Plank + Knee to Nose – This exercise is great for training your core while moving. From plank, bring one knee into your nose as you round your back, then repeat on the other side.
- Boat to Canoe – This has been key in mastering my handstand. Start in boat (V shape), hold for 5 breaths, then lower into canoe for another 5 breaths, and repeat.
- Belly Backbend – In inverted poses, we need balance and strength in both sides of the body. Lie on your belly and lift your head, chest, and shoulders off the floor.
TIPS: Don’t let your low back sag. Aim to hold for up to a minute.
TIPS: Move slowly for maximum strength benefit. Bring each knee in 5 times as part of your routine.
TIPS: The canoe pose can feel impossible at first, but with persistence, it becomes manageable. Keep your back flat against the floor, and if you want more of a challenge, extend your arms overhead while maintaining a flat back.
TIPS: Keep arms back if your neck and shoulders are tight. Lift your legs for an additional challenge. Hold for up to 7 breaths.
Remember, progress doesn’t happen overnight. I’ve been at this nearly every day for three years. I might not hold a perfect handstand all the time, but my strength has greatly improved. What was once hard is now easier. Just have fun and let go of perfection. Some days you may feel like you're regressing, but then you'll surprise yourself with your progress. Consistency will pay off!
Happy hand-standing!☺


